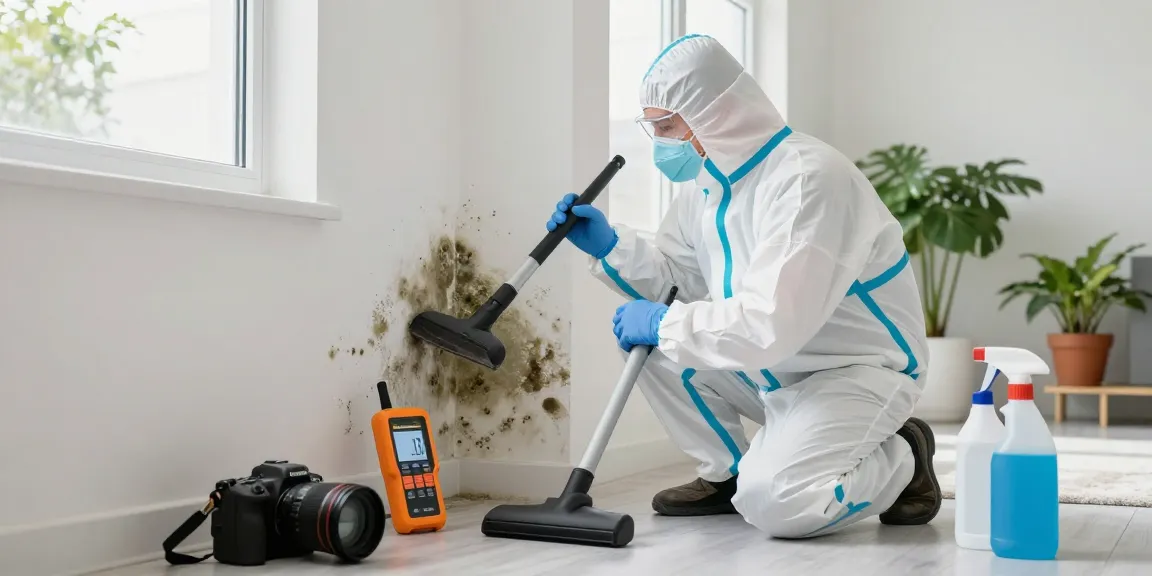
Understanding Spray Foam Removal
What is Spray Foam?
Spray foam is a popular insulation material commonly used in both residential and commercial construction. It consists of a mixture of polyols and isocyanate that, when combined, expand to form a solid foam. This foam not only serves as an effective insulator but also acts as an air barrier, helping to reduce energy costs by minimizing air leaks in buildings. However, its application can sometimes lead to excess foam, improper installation, or other issues necessitating spray foam removal.
Common Reasons for Spray Foam Removal
While spray foam can be beneficial, there are various reasons homeowners and contractors might choose to remove it:
- Improper Installation: If the foam was not applied correctly, it can lead to gaps, inefficiency, and moisture problems.
- Incompatibility: Sometimes spray foam may interact negatively with other materials or insulation types in a home.
- Health Concerns: Older foam systems may off-gas or release allergens, prompting removal due to health precautions.
- Upgrades: Renovations may require removal of existing foam insulation to accommodate new systems or designs.
- Water Damage: If water intrusion occurs, damaged foam often needs to be removed to prevent mold growth and structural issues.
Identifying Spray Foam Types
There are two primary types of spray foam: open-cell and closed-cell, each with distinct properties and applications.
- Open-Cell Foam: This type is less dense and is lightweight. It is more cost-effective and provides better sound absorption but is not suitable for moisture barrier applications.
- Closed-Cell Foam: Denser and more rigid, closed-cell foam offers excellent insulation and acts as a moisture barrier, but tends to be pricier and more complex to remove.
Pre-Removal Considerations
Assessing the Area for Safety
Before embarking on the spray foam removal process, it’s crucial to assess the area for safety:
- Ensure that the workspace is well-ventilated to avoid inhaling any toxic fumes.
- Check for electrical wiring or plumbing near the workspace that could be damaged during removal.
- Wear appropriate personal protective equipment (PPE), including gloves, goggles, and respirators.
Necessary Tools and Equipment
Having the right tools is essential for an effective spray foam removal:
- Utility Knives: Essential for cutting through foam quickly.
- Scrapers: Helps to scrape away leftover foam after cutting.
- Vacuum: A high-powered vacuum can assist in removing small foam particles and debris.
- PPE: Equip yourself with gloves, masks, and safety glasses.
Planning the Removal Process
Proper planning ensures a smooth removal experience:
- Estimate the area that needs to be cleared and form a step-by-step plan.
- Consider the disposal methods beforehand, as some jurisdictions may have strict regulations regarding foam disposal.
- Establish a timeline and allocate adequate time based on the space size and foam type.
Step-by-Step Guide to Spray Foam Removal
Preparing the Workspace
Proper preparation can significantly ease the spray foam removal process:
- Clear the area of all furniture and personal items to avoid damage.
- Cover the floors with drop cloths to collect debris.
- Ensure all tools are organized and easily accessible to maintain an efficient workflow.
Executing the Removal Techniques
Follow these techniques for effective removal of spray foam:
- Cutting: Use a utility knife to carefully cut away large sections of foam. Work slowly to prevent damage to underlying materials.
- Scraping: Once the bulk of the foam is cut away, use scrapers to remove remaining layers. Be cautious of surface materials beneath.
- Vacuuming: Utilize a vacuum to clean up loose foam and debris throughout the process, which will help keep the area tidy and reduce inhalation risks.
Cleaning Up After Removal
After you’ve successfully removed the spray foam, thorough cleanup is essential:
- Dispose of foam debris properly according to local guidelines.
- Clean tools and PPE with recommended cleaning agents to remove any residue.
- Inspect the workspace for any remaining foam particles and ensure the area is clear.
Post-Removal Maintenance
Inspecting for Residual Foam
After removal, it is critical to inspect the area thoroughly:
- Check the walls and surfaces for any leftover pieces of foam that could lead to issues later.
- Look for potential damage to moisture barriers or insulation systems that may need repairs.
Making Repairs After Removal
Once the spray foam is gone, repairs may be necessary:
- If you damaged surfaces while removing foam, patch up any holes and repaint as required.
- Inspect and repair any underlying insulation or wiring that may have been affected.
Preventing Future Issues
To avoid repeating spray foam removal in the future:
- Ensure proper installation of new insulation or materials if you plan to replace the foam.
- Regularly check the integrity of insulation and moisture barriers.
- Consider professional assessments during renovations to ensure compatibility with existing materials.
FAQs About Spray Foam Removal
How long does spray foam removal take?
Time varies by project size, but most tasks can be completed in a few hours to a couple of days.
Is spray foam removal hazardous?
Yes, it may release allergens; proper safety gear and ventilation are crucial during the process.
Can I remove spray foam myself?
While DIY is possible, hiring a professional is recommended for safety and efficiency.
What tools do I need for spray foam removal?
Basic tools include utility knives, scrapers, vacuums, and safety equipment like masks and gloves.
How do I dispose of the removed foam?
Check local regulations for disposal methods, as foam may require special handling.